
That is the land-based version of the project.
The boat version includes a junction box, a roof penetration, a cable route, a network switch, and eventually a discussion about where a satellite antenna needs to live. The camera is almost the easy part. It gets a nice view while the wire does all the traveling.
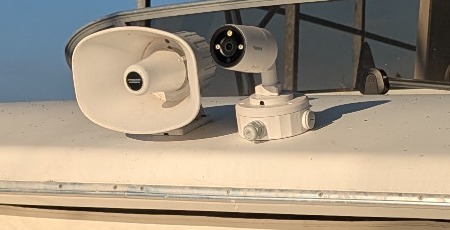
I chose a Reolink RLC-1212A and mounted it beside the horn on the pilothouse roof. A round junction box sits underneath it to house the connection. From there, the Cat6 runs through the pilothouse ceiling and back to the panel, where the PoE switch lives.
PoE means Power over Ethernet: the same cable carries the picture and powers the camera. That’s a particularly attractive arrangement when the alternative is finding two ways through a boat instead of one.
The hole through the roof deserved more attention than the camera’s features. A camera with a disappointing picture is an electronics problem. A disappointing hole can become a woodworking project.
I epoxy-plugged the penetration before finishing the installation. The goal was to see more of the outside without inviting any of it inside.
Behind the pilothouse panel, the switch gets power from the outlet shared with the master-cabin TV. So the TV project and the camera project now have something in common besides competing for my attention.
And then, finally, there’s a picture.
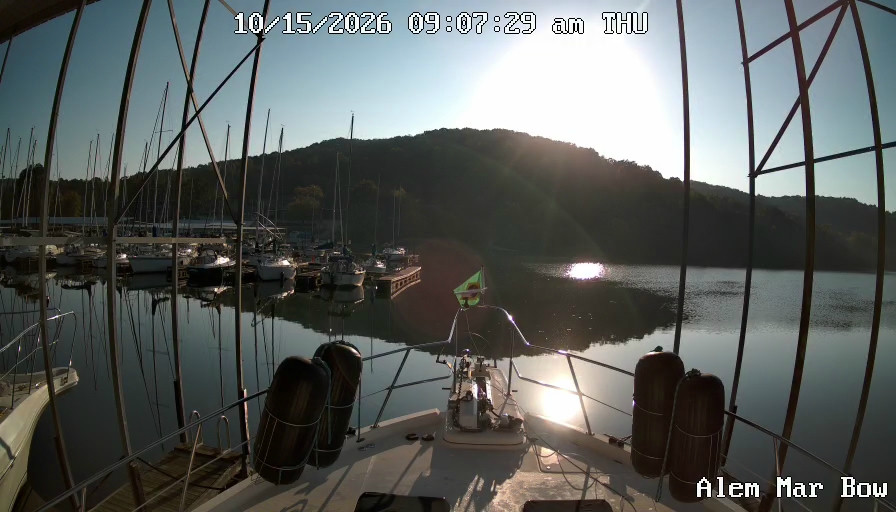
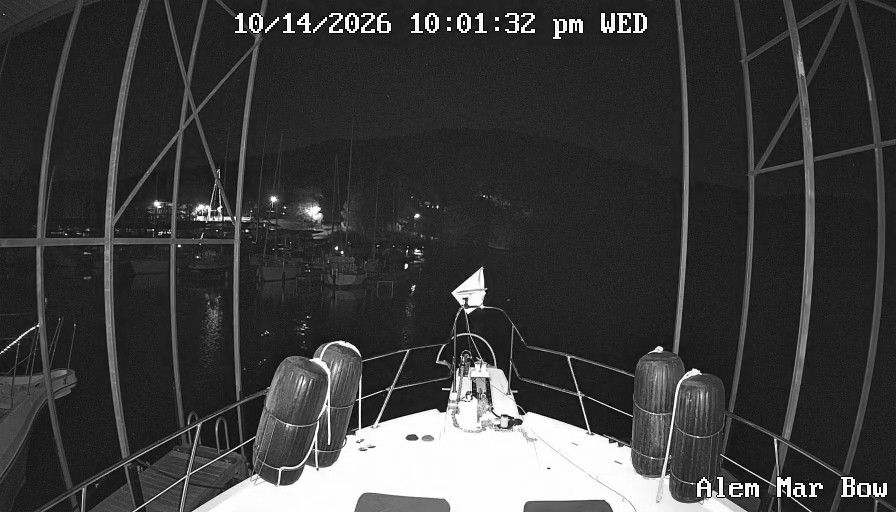
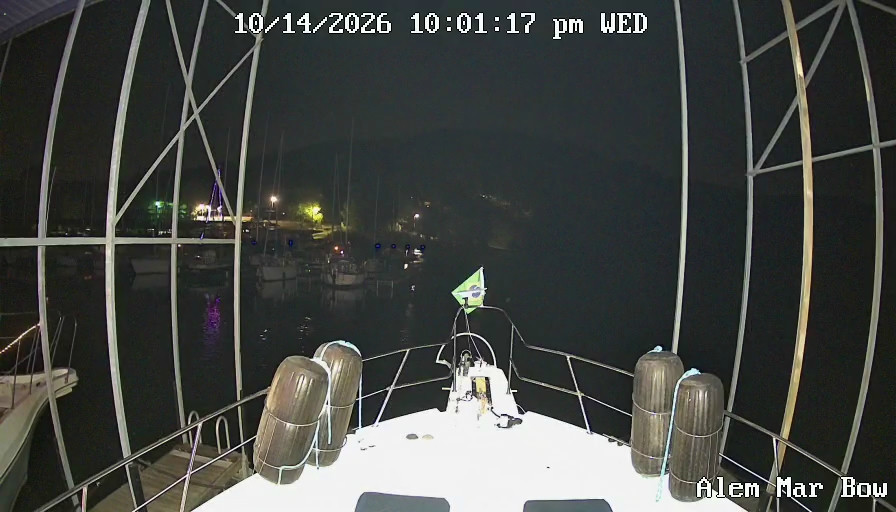
The complete recorded camera frames, shown at their original aspect ratio.
The bow camera is installed and working. Which should be a perfectly satisfactory ending, except that I would also like to see those pictures when I’m not standing on the boat.
Enter Starlink.
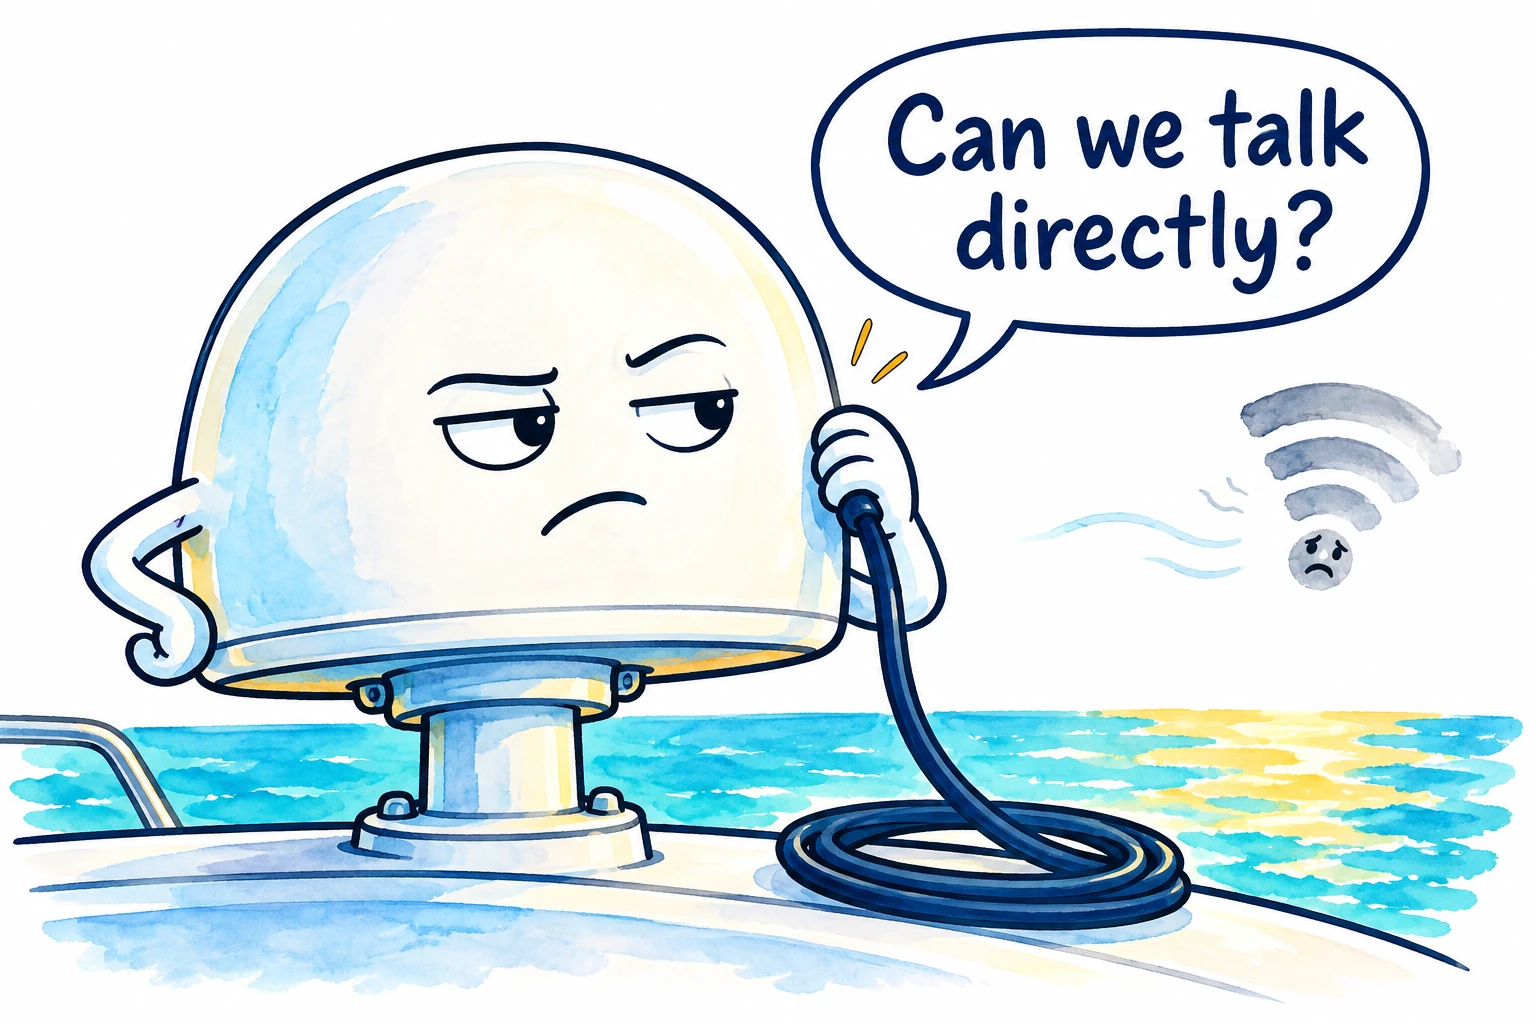
At the slip, the antenna needs to be on the bow to see the sky. Away from the slip, I plan to move it up onto the radar arch. The network switch, meanwhile, is staying behind the pilothouse panel. Apparently, none of the equipment agreed on a meeting place.
My temporary solution is a TP-Link RE500X wireless bridge. The camera stays wired to the PoE switch; the bridge will connect that wired network to Starlink over Wi-Fi. That avoids running a long Ethernet cable back from the bow just to give the camera an internet connection.
Later, I want a permanent Cat6 run from the radar arch to the panel. Naturally, that brings us back to the question that started this whole exercise: how do I get a wire from here to there?
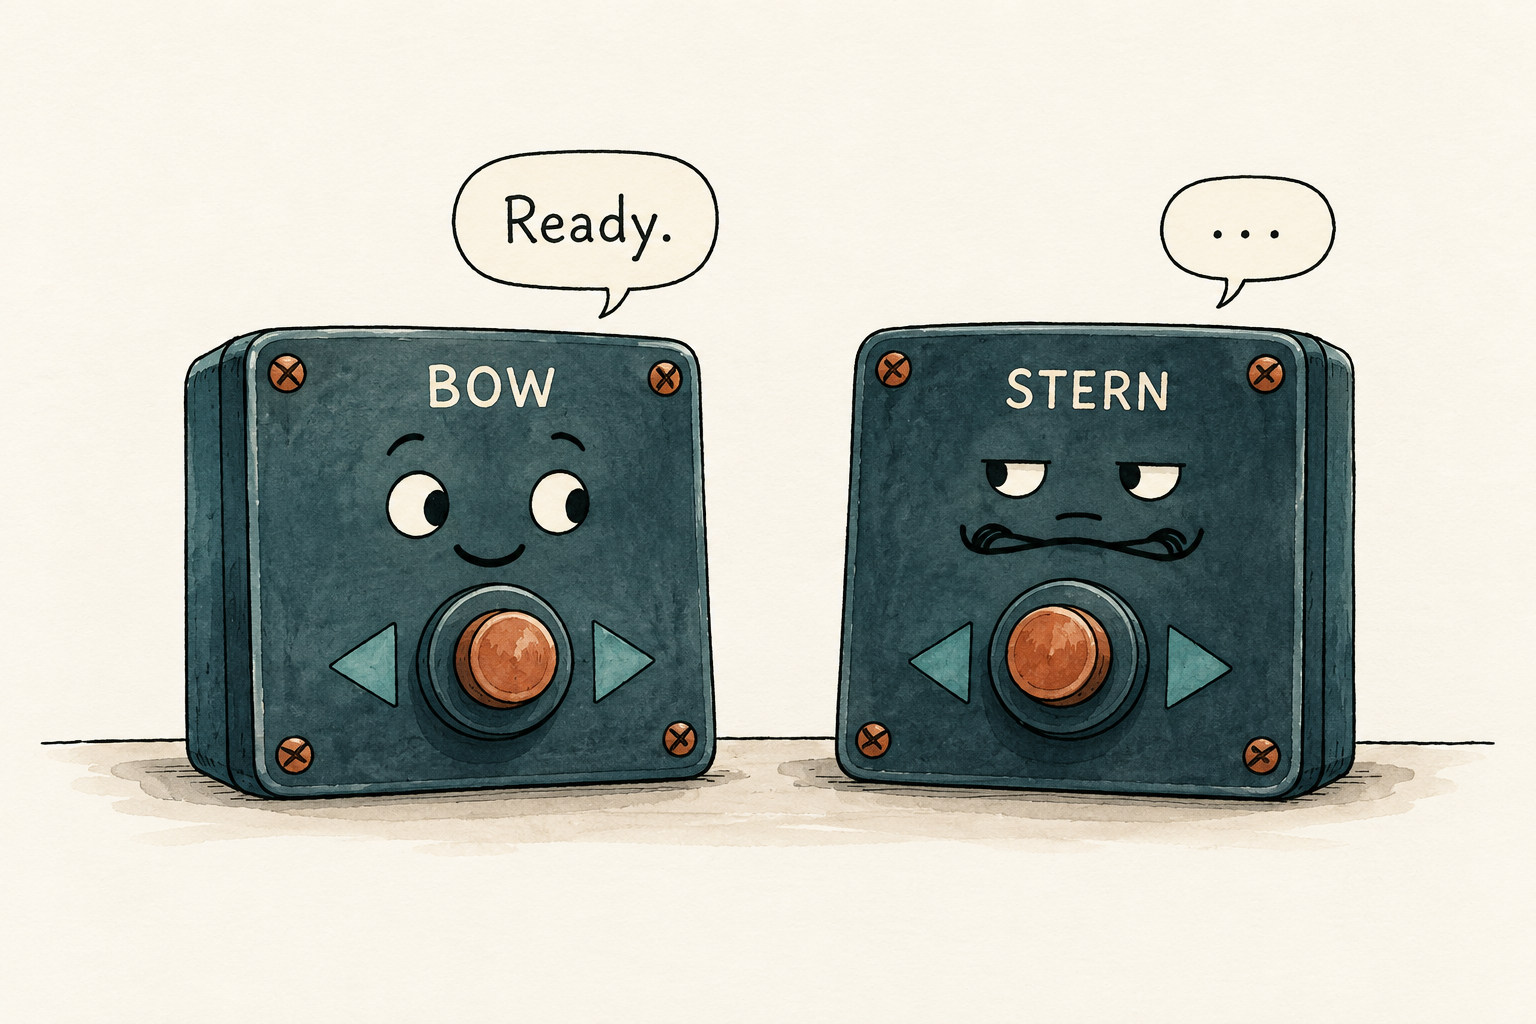
For now, I have a working bow camera and useful day and night views. The bridge is ordered, remote access is still ahead, and the stern camera is waiting its turn.
Buy camera. Mount camera. Acquire several supporting projects.

Loading comments…